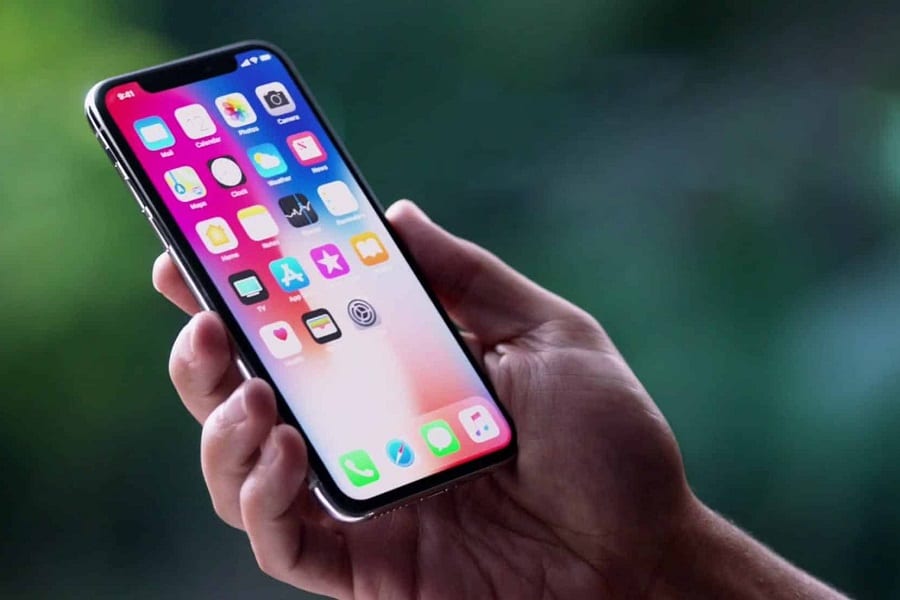
Your iPhone can take fantastic photos, and we all know it.
Professional music videos are shot on iPhones, vloggers on YouTube exclusively shoot on iPhones for the best quality; they’re a big deal.
But the problem is always the same: editing.
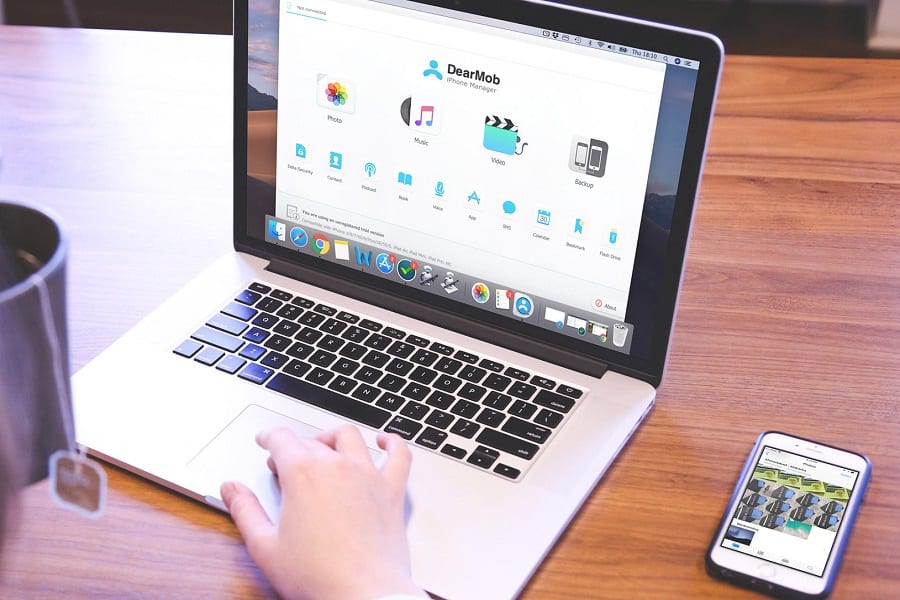
You have to import files to your computer or laptop—which is a pain—and then edit them on there. Nobody wants to do that.
No products found.
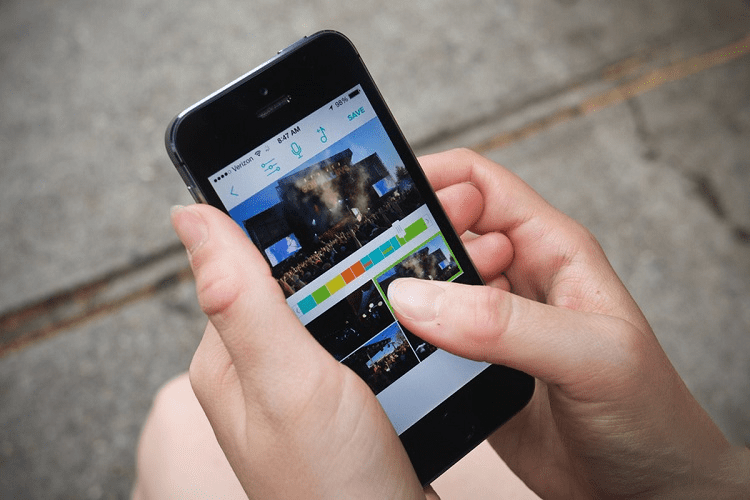
Editing photos on iPhone (regardless of what model) is the best way to go about finalizing your professional pictures.
Thanks to the dawn of the app store, there’s nothing but choices as far as the eye can see.
We’re going to talk about how you should be editing, whether it’s in the standard app or a third-party app, and what features you should be trying to control for the best possible quality picture outcome.
What Can You Edit on Your iPhone?
Your iPhone can be a mobile workstation, and as the world continuously switches to more and more mobile devices and usability, we’re going to see even more advancements in editing at time goes on.
Editing on your phone is still a relatively new concept, so take that into account as you move forward.
With that said, these are some of the best aspects of photos that you can currently edit via your iPhone.
Contrast

Contrast is all about the way colors blend together or stand apart.
Messing with the contrast on certain spots of your photo can make the subject appear to glow by making them the center of attention.
You can alter the background contrast of a photo on your iPhone with spot fixing, which adds a really nice effect.
Contrast editing is one of the core tools that any photo editor should be using.
Quality
The quality of the image isn’t the resolution, which a lot of people get confused.
Quality controls actually use a blend of contrast settings, which we just talked about, along with lighting, sharpness, and color balance.
Most tools that adjust the ambiguous term of quality manipulate a lot of settings at once, sometimes through a slider (depending on what third-party apps you’re using).
This setting works well if you’re using an automatic camera mode, since it’s built into the stock camera app on your iPhone (though it may be under a different name than just “quality”).
Color Balance
Color balance can help out dull or overly-stimulating photographs.
If your photo came out dull, or there’s just too much going on, you can use the color balancing feature to restore the peace.
This alters the RGB settings on a per-color level, effectively changing the temperature and mood of the entire picture.
Lighting
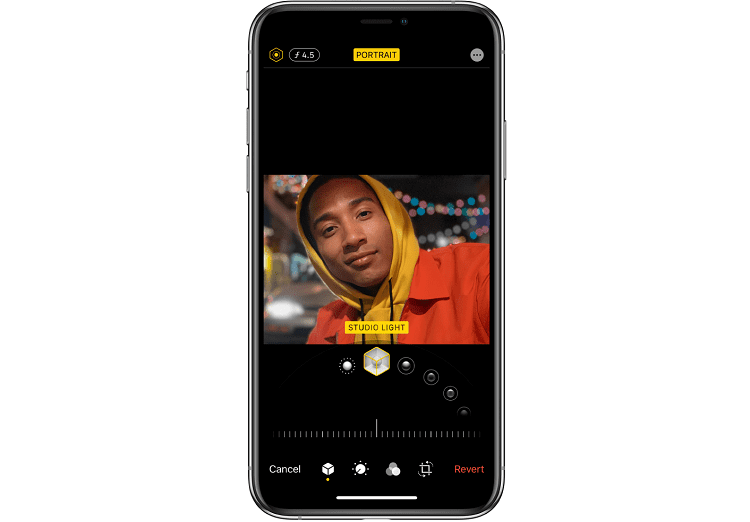
While this is usually labeled as brightness, it’s effectively changing the lighting.
You can make a photo appear like you had a ring light around the lens the entire time, or darken it a bit to take some shine or glares out of the picture.
Many people abuse the lighting/brightness settings by maxing it out or going up to about 75%, but when you tinker with it on lower values, you can see subtle differences that won’t bleach your photos.
Sharpness
Your sharpness refers to the quality of the image focus.
It’s not the same as blurring a background to make the subject appear more vibrant, it’s a balancing tool that can take your photos to the next level.
However, sharpness is a tool that should be used sparingly.
The only way that this is effective is when you apply higher sharpness values to a photograph with solid focus on the subject; this is just used to enhance it slightly.
Filtration
Adding filters, basically.
Some filters can help soften lighting and change the entire mood of your photographs, while others will wash it out with blues and unnecessary glaring.
I wouldn’t say that even half the filters available on iOS are viable for professional photographs, but they can be fun to mess around with.
Using the Default iPhone Camera App vs. Third-Party Camera Apps
Your stock editing software on your iPhone can be good for a few things here and there, but the first thing I do when I get a new iPhone is redownload paid-for third-party apps for editing.
No offense to Apple, but they don’t really bring a lot of value to the table for editing directly from your iPhone.
iPhone editing requires access to more features and photograph attributes than what the standard editing software allows for.
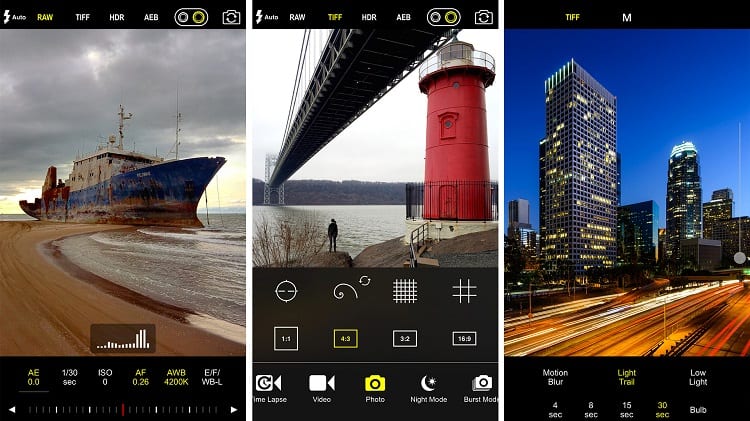
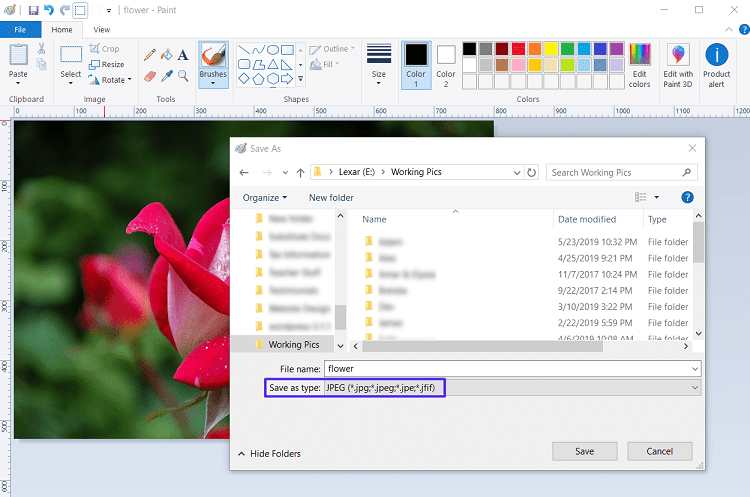
You should be able to access manual mode through third-party apps, which will allow you to export your photos in different formats (good for further PC editing or having a high-quality print on a smartphone printer).
Apple has slowly rolled out more features in their basic editing tools, but they lack the option to alter your ISO and aperture, which greatly impact the quality of your photographs when all is said and done.
From the experience of someone who has always used iPhones for photography, third-party apps offer more utility, and should be your go-to for editing on the fly.
If You’re Going to Use the Default App…
If you’re using the default anyway, I want you to be well-equipped to handle as many editing effects as possible.
Let’s go over what you can do.
Adjusting Light
This can be done simply through your brightness settings. Normally, there’s a brightness slider, but you can go deeper than that.
Tap edit on your photo, then go to individual light settings like exposure, brilliance, and highlights.
You can then use those sliders to change the effects in your photos.
Tap on the effect and drag the slider slowly so that you can see how it affects your photos, and then finalize it by hitting save.
If it looks solid, you can either be done here or you can adjust the lighting further on that edited image.
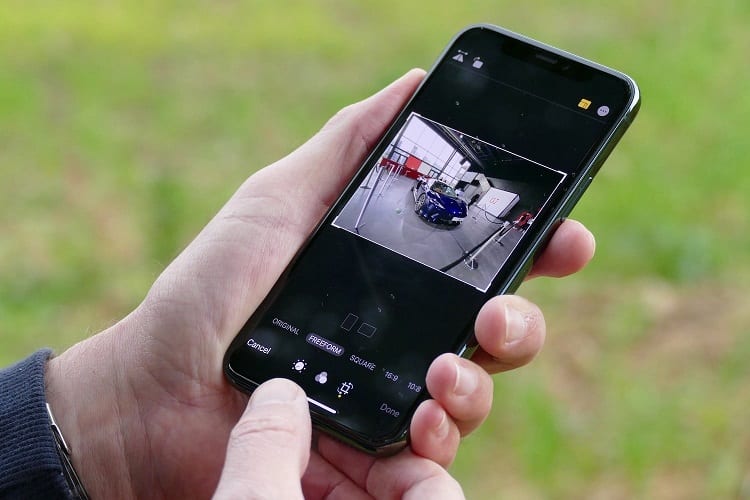
Cropping and Straightening
Everyone knows how to crop photos.
Tap on edit, drag the grid line box around your photo, and choose the box area that you want your final photo to be.
But straightening allows you to take photographs that are at an angle, and straighten them out.
You can skew the angle of the photo to fit inside of a rectangular box, and then crop it there to sort of realign the whole thing.
Filters
Filters are like alcohol: it should be handled responsibly and within reason.
It’s like a crime to see over-filtered photos that would otherwise look stunning.
Tap edit, find filters in the dropdown menu, and scroll through all of the filters that Apple gives you on your phone.
There’s a few dozen of them depending on your iPhone generation, and each of them add different vignettes and saturation to your photos.
Some are good, some are bad, but if you adjust the intensity, most of them can provide value.
Color Balance
Color balancing can be found until tools and colors, through the editing menu.
You get to adjust RGB values here, but you also get to mess with different exposures that affect coloration.
It’s a simple, straightforward tool.
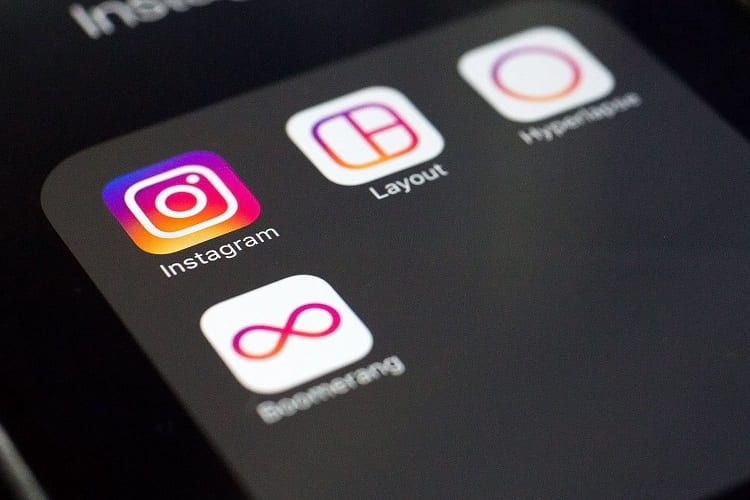
Most Popular Editing Apps for iPhone
For better editing on your iPhone, these apps offer simple advancements with either free versions or moderate pay structures.
Snapseed
It’s a Google app. I just want to get that out of the way from the start.
Snapseed is undeniably one of the best iPhone apps because it’s free all the way through: there are no paid add-ons at the time of writing this article.
You can actually save preset photo templates here so that you can just apply them to your new photos if you find a particular style that you like or that you’re known for.
There’s a wide range of color and white balancing, as well as contrast, sharpness, and even HDR.
It’s effective, free, and that’s good enough for me.
Pixelmator
You might know this from your Mac, because Pixelmator is everywhere, and it’s designed for Apple users.
Their app extension here focuses on keeping things clutter-free and easy to use, which is good for the UI, but does feel a bit limited in some aspects.
It’s going to take a little while to uncover all of the hidden features because of the way they’ve nestled them in, but they’re there.
This is a pretty good upgrade from the standard editing app, but doesn’t have as many benefits as Snapseed.
Adobe Lightroom CC
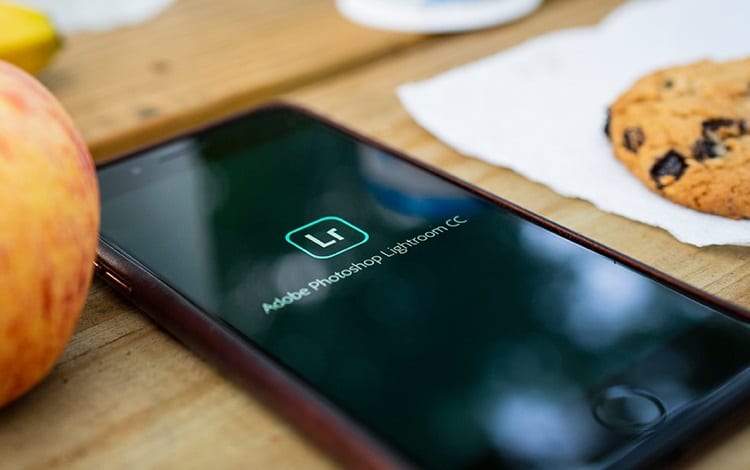
We all know Adobe and how well they do with editing software (you probably already have Photoshop on your Mac or PC).
You can get the premium version for just $4.99, or you can stick with the many benefits offered by the free version.
I would say this is a great starter app, especially since you can film in a raw file extension or HDR, but it does have a long way to go compared to their PC versions.
VSCO
It’s free, but it’s also trying to get you to spend some money in-app.
If you’re strictly going for the free version, you’ll enjoy a ton of filters that outweigh what Instagram and Snapchat has to offer.
Change the filter transparency to add a very light effect to your photos, save your photos as alternate file extensions, and more.
It’s a powerful app, but a bit of a cluttered UI.
Hyperspektiv
Into some funky art styles?
Hyperspektiv isn’t for the average user” it’s designed for people who want to distort images, flip them around, and just see what’s out there to add to your iPhone photos.
I wouldn’t say it’s the best app, but it expands your mind by letting you see what’s out there. Definitely worth the $1.99 price tag.
Affinity Photo
There’s a bit of a steep price tag on this at $19.99, but it’s definitely worth it if you can budget the cost.
You get a ton of filters and color correction options, as well as some really artistic ways you can skew and manipulate photos.
Affinity Photo’s app is a less powerful version of their PC software.
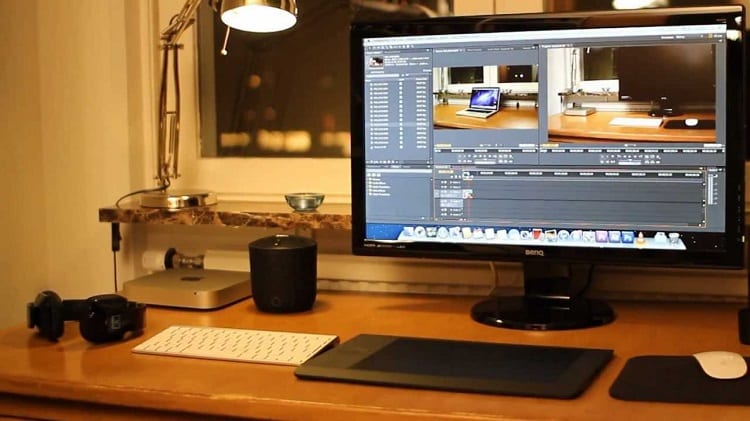
Pros and Cons to Editing on Your iPhone vs. Editing Via PC
Editing is half the battle, so I’m going to do my best to outline all of the pros and cons, in full detail, to editing via your phone versus PC.
I’m going to preface this by saying that while editing on your phone is convenient, if it’s for a professional purpose, I will usually import photographs to a PC and use a more detailed editing software.
That being said, it’s time to dig in.
Benefits of Editing Photos on Your Phone
Convenience
What could be more convenient than just pulling out your phone and editing photos without even having to sit down?
Whether you’re editing through your camera app ora third-party editing app, you’re given the tools you need to rapidly make changes to a photograph without having to relocate back to your office.
We can lose a lot of perspective in the time that it takes to put the phone away, travel, then inspect it on a PC.
We lose that excitement that we get from taking the photos in the first place.
It’s also convenient to be able to add filters, effects, and change the temperature of a photo to capture the exact story that you wanted to tell.
On-Site Editing
You just snapped a photo.
After setting up your tripod, gimbal, lighting and anything else that you needed to, you just want to take the photo and enjoy it.
But since all of those things are still set up, you can look at the photos you took after editing them and say, “That didn’t fix what I needed it to; we need to reshoot.”
It eliminates a lot of uncertainty. Nothing is worse than going back to the office, studio or wherever you edit, and finding out that the shot was ruined.
The moment to get that photo perfect could be gone now, so editing as soon as possible while still being on-site is invaluable.
Immediate Social Media Engagement
Let’s say you’re taking photographs of an event, and you’re responsible for posting it to your company or page’s social media channels as soon as possible.
Tomorrow, these photos will be old news—people want them now, they want to react to them now, because there will be something else to look at tomorrow.
With the power of editing at your fingertips, you’ll be able to get every image ready for immediate distribution and engagement.
Reducing Work Time
You took a photo on one device (iPhone), then you have to import it to a PC, then go through editing software, then export it, then crop it, then post it, then—enough!
It’s a lot to do, but in-app editing tools give you the option to take care of business as soon as possible so you aren’t wasting precious minutes doing mundane tasks and transferring files.
Inexpensive
Even if you get some of my favorite iPhone photo editing apps, and you go through all the paywalls and add-ons that they try to peddle so you can get the most upgraded version of that app, you can still walk away without spending more than $50.00.
Compare that to Adobe Premiere Pro ($239) or Vegas Pro 17 ($299), and you can already see the savings.
Drawbacks of Editing Photos on Your Phone
Smaller Screen
You can’t compare a 32” coimputer monitor with the screen size of an iPhone.
I love using my iPhone for photography, but you have to be able to admit its weaknesses when they pop up.
If you’re going to edit on your iPhone, just know that you’re going to have a harder time actually seeing what you’re doing.
Less Control / Options
This is one thing that iPhones, no matter what apps they’re running, just can’t compete with. PCs have more thorough, in-depth software with more options.
For some perspective, Adobe has a fantastic app that you can edit with on-the-go, but even as the masters of editing software, they can’t make an app that holds a candle to their very own Premier Pro.
There just isn’t enough power in your iPhone to do that, not to say that there won’t someday be.
Harder to Spot Imperfections
This correlates to the screen size.
It’s just a lot harder to see when there are light glares on a photo in the corner, or distracting imperfections that could be fixed with a simple reshoot.
The balance here is that it’s harder to see these, so you don’t end up shooting another photo while being on-site, but on your PC you’re going to spot the issues and then not be on-site to retake that photo.
It’s a conundrum.
Crowded UI
There have been some really fantastic editing apps that have come out in recent years, but even with all of their power, they’re not able to solve the UI problem.
Editing requires a lot of little touches that most people don’t realize, so in-depth apps that are worth your time are also very crowded.
Even when menus are nestled in other menus, opening them still fills up 25% of the screen or more, obstructing the picture that you’re trying to edit.
Compared to the visibility and lack of crowding that most PC editors have, this is something you’ll either get used to, or it will drive you mad.
Benefits of Editing Photos on Your PC
Superior Levels of Control
An app can’t do everything that a fully-functional piece of PC software can do.
While many people believe it has to do with not having the capabilities to store a larger piece of software on your phone, that’s not true.
The iPhone 11 comes with up to 512 GB of space, so it’s not space, it’s all about hardware capabilities.
Currently, we’re likely a decade away from phones having the same capabilities as a PC in terms of RAM and processing.
You simply have more control to manipulate your photos when you’re editing on a PC than you do on an iPhone.
More Visibility
Screen sizes matter, especially when you have to pay attention to the extremely small details in the corners of your picture.
When you need better perspective on lighting.
I’m not saying that iPhones don’t have fantastic resolution, but it’s easier to have high resolution on a small screen than it is on a large screen.
Having that visibility over every single little detail of your photos is absolutely invaluable.
Faster Processing Times
Doing hard edits requires a lot of CPU to manage, but that’s always dedicated on your PC, whereas with your phone it’s running a lot of other apps (even background processes) while you’re trying to finalize your edits.
It makes it difficult to handle even for a new iPhone 11, so you’re going to have longer wait times while processing your photos.
If you’re a professional and time is money, then the shorter processing times on PC really add up with the volume of photos you’re dealing with.
More Export Options
I love Apple, but they’re very limiting when it comes to certain professional tools.
iPhones are designed to be used by the average, everyday person, so they either hide a lot of those manual features, or simply don’t include them.
I can fully understand the appeal, but you need to be able to export and save your files in multiple formats for different projects.
Ability to Manipulate Raw File Formats
Raw file formats are a must-have for post-production.
With most iPhones, you can download a third-party camera app to save photos as raw files, and then export them as you see fit.
However, you can’t use most editing apps to manipulate raw files on your phone.
PC software is designed to do just that, so you get more of a range of editing options if you use raw file formats while editing on PC.
Better Sharing Options
Collaborating on projects is important.
It’s how the remote work culture is continuing to operate, but it’s not exactly easy to constantly collaborate and share progress from your phone, even with the right apps.
It simply takes too long to go from your photo apps to your sharing apps, and locate the files.
With most PC software, you have more sharing options with better choices, so you can collaborate with a couple of clicks instead of rifling through multiple apps and sending email attachments to everyone on your list.
Drawbacks of Editing Photos on Your PC
Lack of Mobility
Chief among all the issues with PC editing has to be mobility.
It’s clear: your iPhone has mobility so you can edit on-the-go, and your PC needs to stay put.
Even if you have a laptop, mobility is still a concern, because nobody’s pulling their laptop out to put on their laps during a train ride.
You can keep moving while editing on your phone.
PCs have power, iPhones have the ability to go anywhere, anytime, and edit on the fly.
If you’re meeting up with clients in the city, this can come in handy. That brings us to our next point.
Editing While Stationary
This isn’t the same thing as a lack of mobility.
Your PC is at home, so you edit at home, but if you’re meeting with a client at a mutual location, you’re going to have to take notes and then edit the photos further when you get home.
If you’re exclusively editing on your iPhone, then you’ll be able to edit in front of your client and get everything perfect. It could be a time-saver.
More Expensive Software
I have to be real with you here: more power comes with a higher price tag.
Yes, it’s generally better to edit your photos on PC, but the software is expensive to get started with.
You can spend up to 10x the amount of money on PC software than you can with a few add-ons in a paid app on your iPhone.
If you’re doing this for pleasure, then you might not have the money to sink into PC software, which effectively paywalls you from being able to make beautiful creations.
Mobile Photography Workstation
Editing photos on the go isn’t just a good idea, it’s becoming the norm.
You can edit your photos through numerous apps, as well as third-party camera apps, and have them Instagram and print-ready in no time.
If you think about the fact that more than half of all internet users primarily use a smartphone over laptops and PCs, so this is just a natural change.
Editing apps are getting better, and so are you—make the switch to a fully mobile editing station today.