You don’t understand how important lighting is until you look at some comparisons of the same photos, but with slightly better lighting.
It’s what gives models their “good side,” and what turns beautiful ordinary life into something captivating and extraordinary.
We’ve outlined tips about the best lighting for smartphone photography to give you a competitive edge over your photos and your portfolio.
Some of these may seem simple at first, but implementing them successfully is going to change everything.
No products found.
1. Stand in the Shade
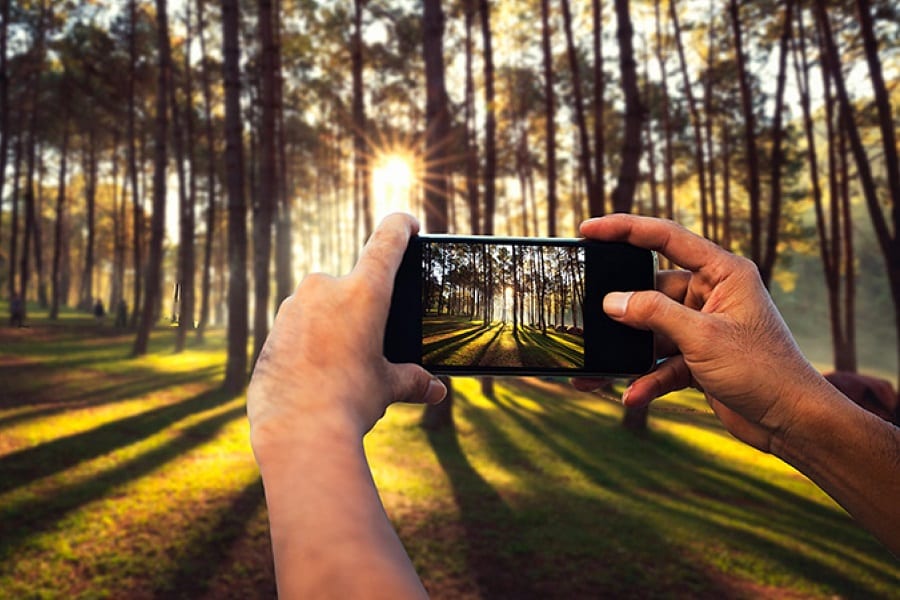
For outdoor photos, you have to work with the sun.
It’s not going to yield to your artistic vision, and sometimes, it can get in the way of it.
If the direct sunlight is hitting the subject of your photograph, you can find some shade to stand in to get better lighting.
Natural light will still rain down on them, illuminating them and the background as well, but the lack of direct sunlight on your camera lens will help to reduce glare.
Moreover, it also helps with reducing the blurring and white balance.
Smartphones have the ability to filter out a lot of that mess, but less than high-powered camera lenses do.
Standing in the shade also helps refocus your camera.
This might take a few seconds, but if you keep your eyes on the screen, you’ll be able to see it recentering your photo on your subject.
Just be sure to turn down your exposure here so that you can still get great definition when it comes to the editing stages.
2. Stop Using Flash
Natural lighting or external lighting is the way to go.
The flash on your camera might actually be making things worse, especially since they don’t operate the same way a standard photography studio flash does.
You can only pack so many features into a phone, you know?
The flash can add some white light that could balance out an image or highlight it, but more often than not, it ends up looking bleached.
You can deal with some lighting issues in post-production with editing apps right on your smartphone, and because of that, you should avoid flashes when possible.
There are other ways to add light to your photos. External light, such as from light bulbs, ring lights or anything else, can add to a photo.
3. Don’t Photograph in the Shadows
If you look at one of our other tips, you should only stand in the shadows when taking pictures of things that are in the middle of bright, natural light.
But if you photograph something that is encased in shadows, it usually doesn’t work well.
While a lot of those issues can be worked out in post production, you want to avoid them in the first place if it’s at all possible.
Shadows block out certain light that could otherwise help your subject, whether it’s a self-shot or a candid, look darker and less angular.
Since light dictates more in photographs than most people think, having sufficient light that doesn’t bleach out the subject is critical.
4. Avoid Zooming
Don’t zoom in.
It might be helpful if you’re taking a photo that you don’t plan on displaying, like if you see something interesting that’s just for your eyes later, but it won’t bode well for professional photographs.
The main reason for this is that it distorts the resolution.
When you zoom in on asn image, you’re enhancing the white light that could bleach out the photo.
This is a tip exclusively for smartphones, by the way. High-powered optical zooms on traditional digital cameras operate differently.
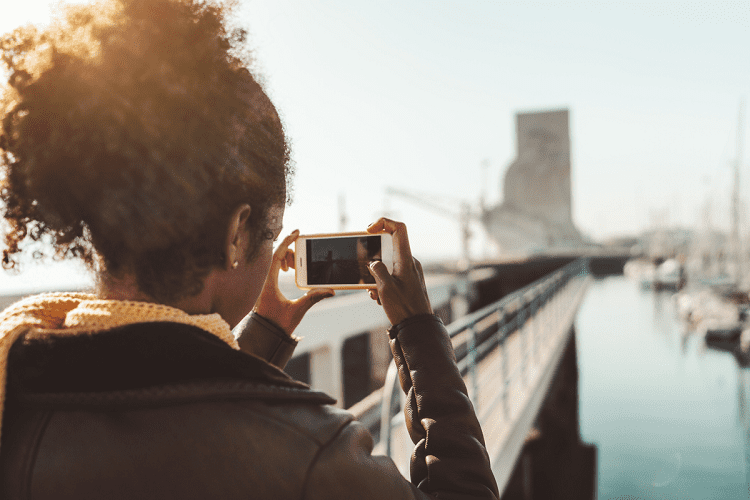
5. Golden Hour Lighting
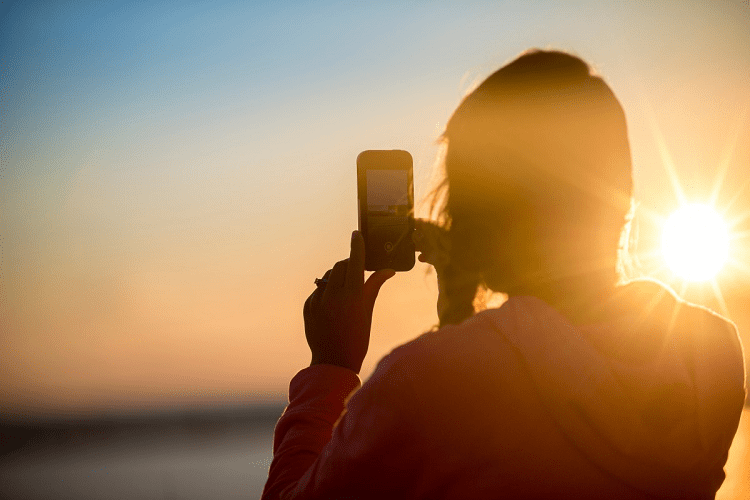
Sundown, which can change by the day, is also called the golden hour.
It offers the best lighting for silhouettes, and elongated shadows for stupendous contrast between the environment, and your subject.
But it can also be a pain.
If you’re standing with your back to the sun, you’re casting your own shade on your subject. You need to position it properly.
Stand so that the sun is to your left or right side.
Knowing that the sun sets in the west gives you the ability to plan out photoshoots in advance so that you aren’t wasting these precious moments positioning your subject or altering the environment around them.
The goal here is to manipulate the setting sunlight for your own gain, and if you time it right, you’ll get some dynamic photos that rival art galleries.
6. Use a Ring Light
Ring lights are one of the most popular lighting tools today, thanks to a lot of YouTube personalities and makeup tutorial channels using them.
But they also work well for still images at the same time.
These can take some getting used to, but once you mess with the output and white balance, you can set some glorious shading to really put the focus on your subject.
Ring lights can be used for photographs of people, but you can also take better images of inanimate objects if you position your light to aim downward at a 45° angle (depending on the angle of your camera as well).
Ring lights emphasize the details of your subject, while also amplifying coloration effects that you might have on your camera, or might come up during the editing process.
Because of the way it casts shade, it’s extremely popular for personal photographs as it places people in the best light.
Last but not least, ring lights can be used indoors as well as outdoors, since many of them will run off of a USB-to-power bank connection. You can utilize them almost anywhere.
7. Use Manual Settings
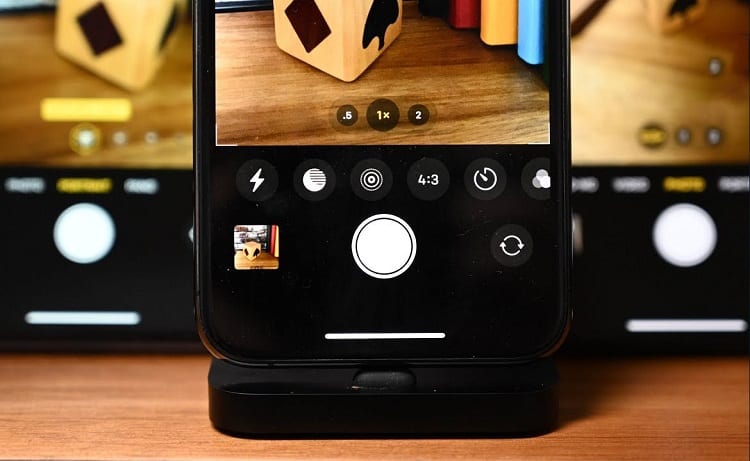
Most smartphones come with the proper settings to simply take a picture of something, and get a high-quality output without requiring much work.
That’s all well and good, but if you’re like me and you want to control every dynamic detail of your photos, you can flip into manual settings.
This might require the use of a third-party app that takes place of your stock camera app, but it’s definitely worth it.
You can adjust your shutter speed, your ISO and other settings that just aren’t easily manipulated through the standard camera app.
Remember that these phones are made for the everyday person, not necessarily for photographers.
Once you flip into the manual settings, you’ll be able to stabilize your shots a lot better for clear lighting that doesn’t blur when you take a photo.
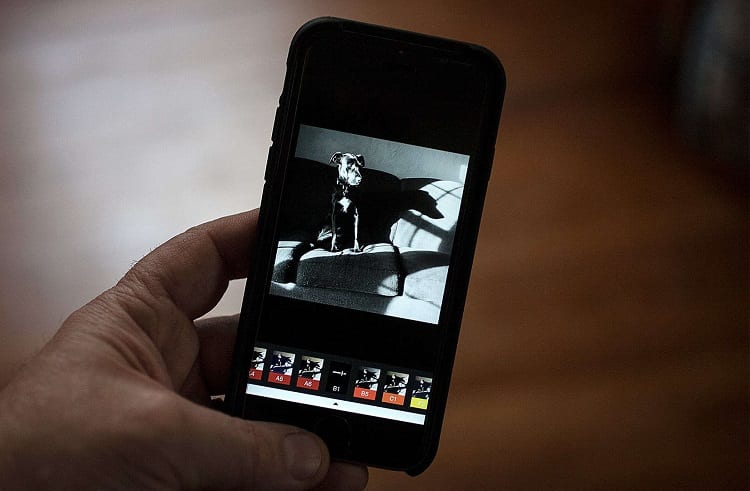
8. Use Black and White Photography
That’s right, just flip the colors off entirely.
This doesn’t necessarily deal with light, but it adds definition and structure to your photos by eliminating color noise.
The brightness of some colors may react to certain light and appear brighter than they actually are, which can really mess up your shot.
When you can’t get a proper colorful shot, see if a black and white photo will do the trick.
What Equipment Can I Use for Better Lighting?
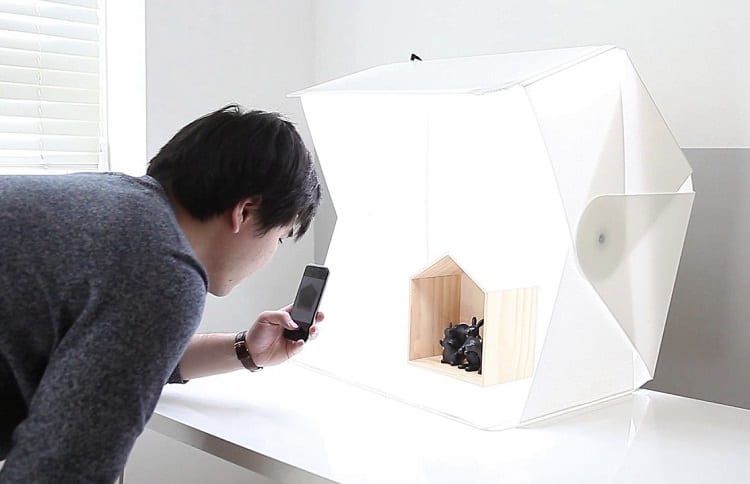
It depends on what you’re taking pictures of.
You can use a lightbox if you’re photographing small items or products, but generally speaking, you’re going to want to use ring lights, soft box lights and other studio equipment when taking indoor photos.
It’s very easy for indoor shadows to mess with the angles and dynamic of an otherwise awesome photograph.
You don’t need to hemorrhage a ton of money on good equipment, either.
Find a space where you’ll be doing most of your photographs, and get medium-budget lighting to fill that space without overbuying.
When Should I Use Filters?
This is a bit of a tricky one, because 90% of the time, you can tell when a filter was used incorrectly in a photograph.
Filters can add different levels of underlying blues, greens and reds to a photo, which can help with color balance in certain situations and areas.
However, filters should be used sparingly for lighting purposes.
Downloading a photo app for your phone will give you a variety of softer filters that might not seem like they make much of a difference, but once you learn what they do, they’ll quickly become your go-to method.
You want to focus on natural lighting as much as possible to avoid the use of filters.
In a world where most photographs end up on Instagram for exposure, people will look for any reason at all to tear down your photos and say that they look unnatural.
Focus on natural lighting, and use filters only if needed.
Lighting Changes the Entire Dynamic
From glamour shots to better scenery and clarity on long-distance images, lighting is absolutely key.
Photographers have been using natural light and taking pictures at specific times of the day for years to capture the beauty of people and the world, and now it’s your turn.
Use what you’ve learned, and watch the difference in your finished photographs.