iPhone cameras are amazing, and every generation includes a higher quality camera than the last.
The thing is, so many smartphone photographers aren’t using these cameras to their full potential.
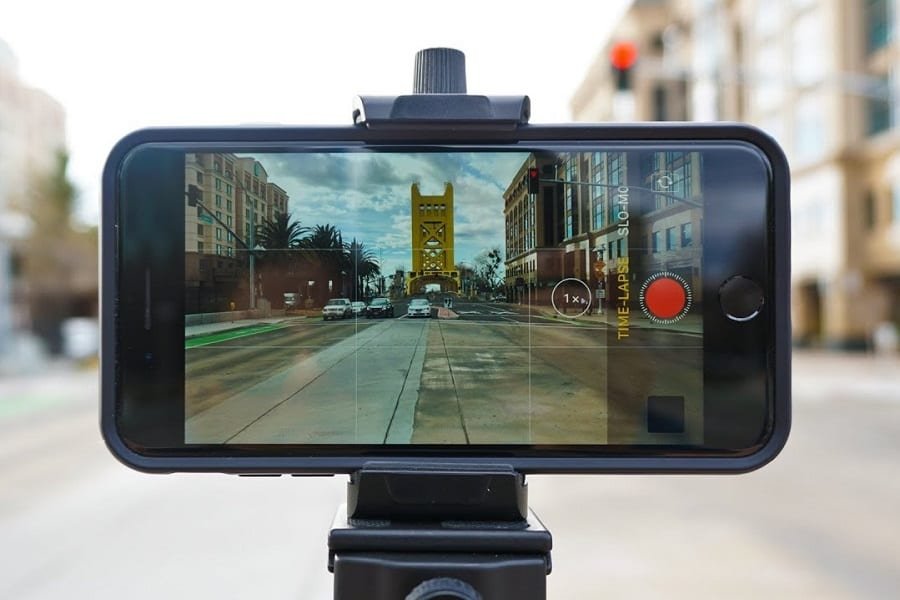
Making an iPhone timelapse isn’t just simple, it’s a ton of fun when you get the hang of it.
There’s a very short learning curve, so in about ten short minutes, we’re going to turn you into a pro with navigating the settings and providing tips to angle your phone for the best time lapse photos.
No products found.
There’s an art to making the perfect time lapse, so let’s get you going and help you create that next piece of stunning artwork that will reshape the way people look at iPhone photography.
What Exactly is Time Lapse Photography?
Think about any movies you may have seen recently, where they want to pass time quickly, but they don’t want to make everything boring for the viewer.
This could be watching the sunrise and set extremely quickly in the span of ten seconds, or entire seasons passing by in the blink of an eye.
That’s a time lapse. It depicts scene changes and the passing of time.
Time lapse photography is used to put together a collection of images that make time appear to move faster.
If you watch a video that’s super sped up, you notice every little movement, you can watch people scurry around, but it’s not the same as time lapse photography.
Most modern day cameras and phone apps use timed shots with intervals between them.
The user can generally set the time in between shots to be whatever they want, whereas in the past you would have had to use an item called an intervalometer.
Because of how advanced a lot of modern phone apps are, they do the job of stitching together photos for you.
In the past, you would have to go into a photo editing software and run them all together, which could take an hour for a single time lapse.
There’s still some editing to be done, but it’s a much simpler task than it used to be.
How to Get the Perfect Time Lapse Photos on Your iPhone
First of all, I’m going to say it, and I’m not sorry: iPhone batteries aren’t the best.
They can die out pretty easily, which is why it’s important to bring a power bank with you.
To kick things off, you need to have the right equipment handy before you even think about setting up a time lapse shot.
You’ll need a quality tripod that you can put in one spot, and know it’s not going to blow over from a bit of wind.
I’ve reviewed some of the best tripods for smartphones, but for outdoor use, it’s recommended to consider getting a standard tripod with a phone head.
You’ll also need a fisheye lens, which many people don’t like using on iPhones, but I’ll tell you why it’s important.
You’re trying to make your images look like they’re wide, entrancing and captivating, and fisheye lenses do have their place.
It gives the viewer this feeling like they’re really there, or experiencing it through the eyes of a fly on the wall.
If you get any tripod made after 2016, they’re going to come with a remote control that you can sync up to your phone via bluetooth.
They’re one of the best things that you could possibly use for time lapses, because it allows you to control the phone without disturbing the balance of your phone shots.
They’ll all look smooth from start to finish.
Now, there are some artistic vision that intentionally let the time lapses look a bit choppy to make it feel more animated, and I’m not knocking those, they just don’t look professional.
More artsy than anything else. If you’re serious about photography as a marketable skill, you’ll need to focus on this.
What Settings to Use
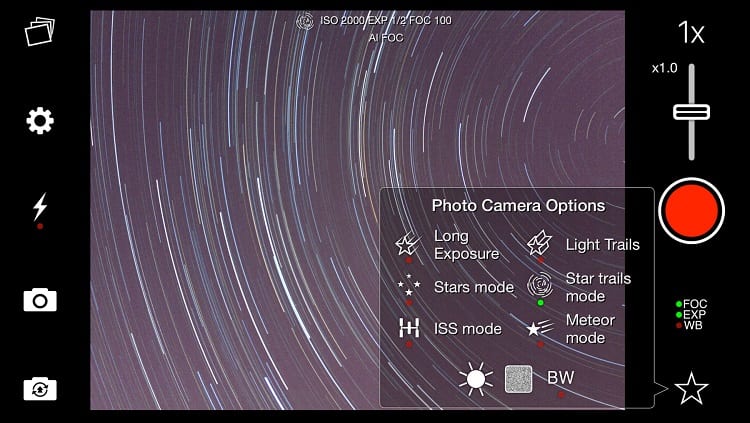
You really want to balance your ISO settings for this one.
ISO will dictate how light is perceived by your iPhone, which in turn could change the entire mood and temperature of the time lapse shot.
While you can use the built-in iPhone time lapse mode, I think it’s going to be better if you get a third-party app.
When you use time lapse mode on the iPhone’s standard stock camera app, it limits your ability to mess with that ISO like we just talked about, as well as other settings.
If you’re photographing a landscape, like a grassy hill with a blue, cloudy sky above, then you’re going to encounter a lot of blues, greens and whites.
That much is obvious. You can balance out your colors through the HDR setting, and find out what lighting definition is going to work best for you.
Will This Kill my Battery?
Your camera has to be on the entire time, so yes, a time lapse is going to drain your battery.
Generally speaking, for professional use, people do time lapses on cameras with excessively long battery lives.
You could switch out your detachable battery pack in the middle of a time lapse, but you would have to do it in between interval shots in order to keep things nice and smooth.
While an audience isn’t going to notice one skipped photo, it will stick out to you in post.
Your battery should be able to hold on for quite some time though.
A sunrise to sunset time lapse isn’t going to be simple, but if you wanted to set the intervals longer (thirty seconds to one minute at a time), you might be able to preserve enough battery life to do so.
Are There Apps for Time Lapse Photography?
Absolutely. I’ve outlined some of the best below with brief descriptions, just so you know what you’re getting yourself into.
Hyperlapse from Instagram
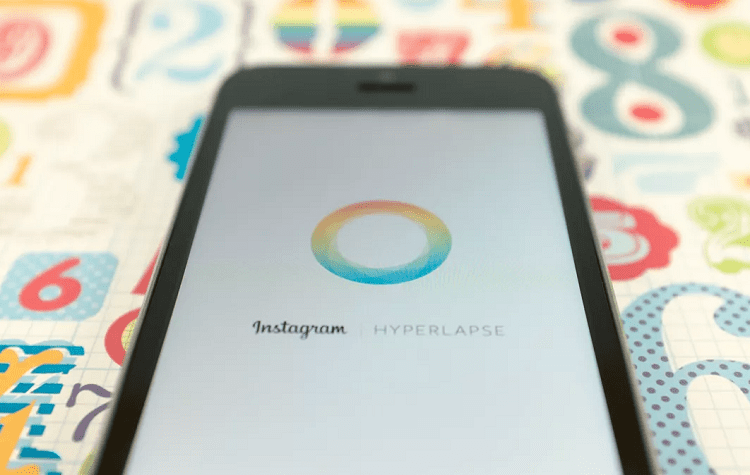
Instagram is owned by Facebook, and if they know one thing, it’s making apps.
With the intention of setting you up to post your photos directly to Instagram, they offer a free app that can turn your photos into a 12x speed video to share with anyone you’d like.
It’s not the perfect time lapse app, but it’s something fun to tinker with in the meantime while you get your manual settings down and learn what options you like to explore with manual settings on other apps.
Lapse It
Lapse It is a freemium app, meaning you get about a quarter of the features upfront, and the rest are behind a $2.99 paywall (which isn’t bad when you consider similar apps are upwards of $7.99 on the iOS app store).
You’re able to adjust the FPS, audio effects for videos, resolution, limit modes, time scales and focus mode all in one convenient menu.
While this doesn’t let you flip into manual mode, it gives you plenty of features that make time lapses a breeze, such as custom brightness and multiple commands right from the home screen.
TimeLapse
Another freemium app, TimeLapse is designed to stick to the iOS aesthetics, and opens up a world of possibilities after a $4.99 paywall.
The difference here is that it has plenty of worthwhile features that justify the cost, such as 4K videos and being able to save in raw video and photo formats for better post-production editing.
If you want, you can edit photos on a frame-by-frame level to compose everything right in your app, avoiding the unnecessary task of exporting your files and using a laptop or PC to edit everything.
Even if you’re just toying with the idea of making time lapses, it’s still a fantastic app to get your foot in the door.
iMotion
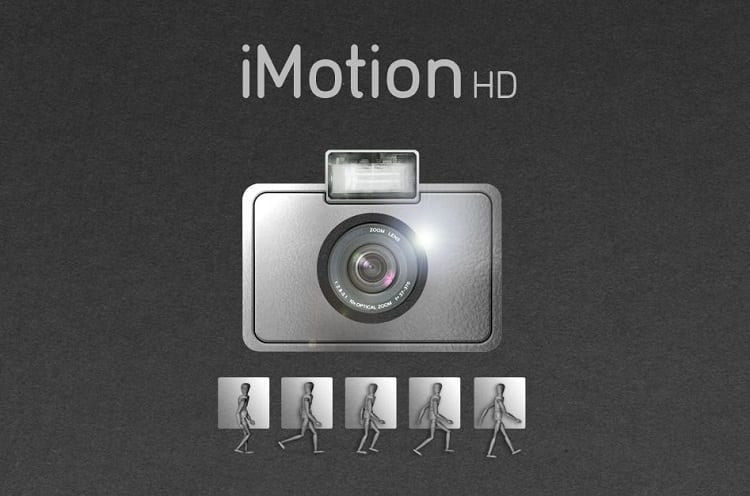
The very best thing about this app is that it offers super slow FPS if you’re trying to get a rapid time lapse without spending hours on end.
You can go as low as 10 FPS, which will piece together 6,000 photographs in a 10-minute span.
This works well for sunrise, sunset, or city street movement time lapses.
You don’t have to let it sit there for more time than is necessary to capture an amazing time lapse.
It comes with complete control over manual mode to amp up your ISO, as well as better white balancing.
Better Mobile Photos, Every Single Time
Time lapse photographs and videos are exciting and show just how much the world moves on when we’re not looking at it.
Whether you’re trying to shock and awe people with your collective artwork, or you’re just trying to work on your skills, this brief guide will give you the tools to do so.
If you’re still getting started in iPhone photography, be sure to check out our guides on the best smartphone tripods, lightboxes, and miniature printers to make stunning 2” x 3” photographs right from your phone.