Most phones don’t come with a night vision mode built in.
In fact, no cameras really do, it all has to do with color balancing and alterations to what you see (and a bit of IR).
Phone night vision is all based on the way the images come through your lens.
Since there’s still light at night, your camera lens will be able to capture images ahead of you because of it.
Are night vision photos as good as pictures with a proper ring light and backdrop?
Of course not, but it is entirely possible. Let’s go over the best ways to get night vision photographs and videos from your smartphone.
Contents
How to Take Smartphone Pictures at Night
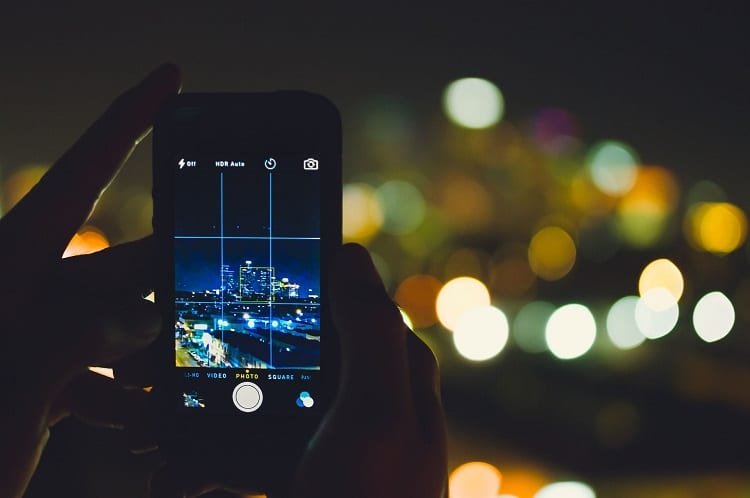
Most cameras don’t come with IR emitters, but those that do actually have the ability to take night vision photos and videos without requiring the use of an app.
You’re not going to find infrared emitters on many smartphones, so we have to turn to something else.
Apps can help you with color balancing, which in turn can make things visible that were previously difficult to see.
You’ll notice the primary differences between night vision cameras that come with IR technology and night vision apps are the color variations.
IR cameras can balance everything out in vibrant black and white, whereas apps reduce the red and blue color values of what your camera lens is picking up, and leaves only the green.
It’s like looking through Sam Fisher’s night vision goggles.
These apps have to balance out white light and a green hue to clarify the picture in front of you as much as possible.
They work well, but I wouldn’t be putting up night vision photos on Instagram for bragging rights, you know?
In order to take good photos at night, you need a night vision app, and you have to cancel your flash.
You can do this through the preserve mode in your iPhone, or simply go to your camera app on an Android and tap the lightning icon.
Your flash or flashlight mode is going to help you see, but it’s going to bleach any photo that you try to take.
Night Photography Smartphone Apps
These are a handful of the best night vision photography apps that you can use to get some decent nighttime photographs. Within reason, of course.
1. Night Vision Flashlight (Android / iOS)
Night Vision Flashlight is all about custom balancing colors and brightness settings without ever using your flashlight.
It’s a one-trick pony, but it does its job extremely well. A lot of people use this to see the ground when they’re walking home from work at night.
2. Illumes (Android)
No need to use your flashlight, you can just use Illumes to balance out certain colors and create a nice night time photo.
This is a hybrid app, meaning you have silly options like adding stickers and comical filters alongside changing the color balances, so it gives you some room to have fun.
3. Night Eyes Lite (iOS)
The whole point of this is that you can take decent photos without having to turn the flashlight on, which would otherwise bleach the picture.
It allows you to use sepia, black and white, as well as high saturation red, green, and blue filters to get the clearest picture possible.
4. Virtual Night Vision (Android / iOS)
This is arguably one of the highest resolution nighttime filters that I’ve ever used, and allows you to pick the saturation of your colors to balance it out.
Since every phone is a little bit different, you’re able to adjust it according to your own specs.
5. Night Vision Thermal Camera (Android / iOS)
This comes with a nice UV option to switch the colors around and get some clear, albeit it weird-looking photographs.
This app tries to give you a thermal vision filter over what the camera sees, utilizing augmented reality in most recent phones.
6 Tips for Good Nighttime Photogaphy
Those apps we just mentioned are fun, but like I said, nobody has ever been shocked by a night vision photo unless bigfoot is in the background.
When it’s washed out with green, it just doesn’t appeal the same way. These are some practical tips for night photography with your smartphone.
1. Avoid Auto Mode
Time and time again, people take horrible night photos because they don’t know about manual mode.
Smartphones were designed to be used by everyone, which is why automatic camera modes are the go-to.
They do their job well enough, but if you’re serious about photography, they can ruin photos at night.
Go into manual mode so that you can mess with the settings appropriately.
Ideally, you will already know what settings to toy with as you go into it (and we’ll go over a couple as well).
Manual mode gives you all the right options.
2. Only Film in Raw Mode
Raw mode allows you to take photos in the raw file format, which can be manipulated easily in post-production.
If you’re working with clients who want to get high quality photos, they might already have a post team in place to toy with the photos that you send them.
For this, they’re going to want raw mode.
Even if it’s just a one-man show, you should still film in raw and find a way to manipulate the photos later on before you post them to your online portfolio or Instagram.
While many would argue that this is dishonest photography, it’s a practice that’s been used for years, and it doesn’t throw an entire filter over a photo.
It just finds ways to visually enhance what’s already there.
3. Adjust Your Settings Beforehand
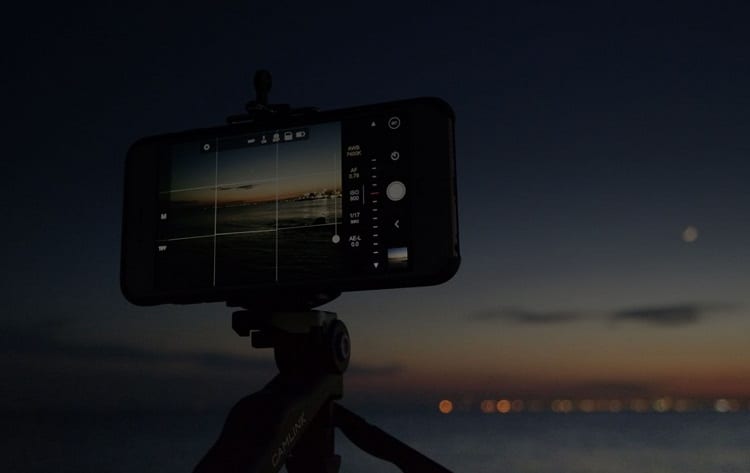
Before you even get to the scene of your next big photoshoot, have your settings ready for the worst of it, and then flip it on preserve mode (if that option is still available to you in manual mode).
This will lock the settings in place.
If you’re not sure what settings you want to use, you should write down different settings and test them all on the same subject.
Later on, view all the photos and see which settings work best for you.
Set your camera up properly before you head out for your next nighttime shoot.
4. Shoot from the Shade
It’s night, you’re in the middle of New York, and you want to get some stellar photos.
That’s good, but it’s not going to work out well if you’re standing beneath a lamppost and the light is shining down right on your lens.
If you stand and aim at the source of light, whether it’s a lit-up building or what have you, your position needs to be away from a light source so that you can see the contrast in the edges of your photograph.
5. Go High ISO or Go Home
ISO is a manual option that allows you to mess with the lighting via the sensors in your camera.
This can effectively eliminate tail light bleed, when you see those streams of annoying light coming off of tail lights, but off of other objects.
You’re adjusting the sensitivity of the camera sensors, which can give this cool and easy feeling to any night photos.
High ISO means that your camera is ultra sensitive to light, which is what can make lamp posts shine without creating a glare, and distant skyscraper lights glow without twinkling.
In short, it’s one of the reasons we told you to switch to manual mode earlier.
6. HDR All the Way
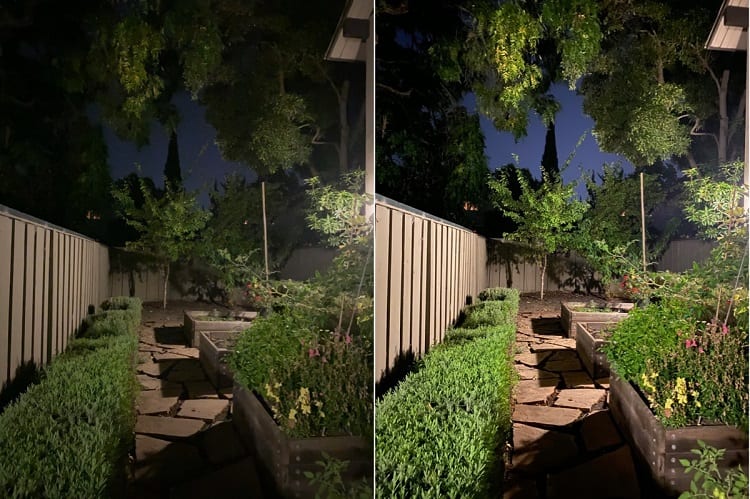
HDR stands for high dynamic range, which is the flip side of the coin when you’re looking at ISO.
These settings allow you to texture light in your photos instead of letting it hit the perfect angle of your lens and cast glare over the entire photo.
HDR is traditionally used in DSLR cameras, but with certain third-party apps, it can be digitally implemented into your smartphone camera.
These HDR settings will balance the white light and blackness of your photos to provide excellent contrast without making things too bright or too shrouded.
Many photographers use HDR for modern day black and white photos to get that extra bit of definition on every single photo.
Any Time’s a Good Time
From sundown to sunrise, you’re going to have the option to take pretty cool photos.
It’s nothing I would hang up on the wall, but if you’re playing manhunt with your buddies (it’s never too late to play manhunt on a Saturday night), or you’re hunting and staying on-site, having night vision is going to be a major benefit.
Use these apps, and our tips for making better nighttime photos, and you’ll be able to create some truly awesome stuff. Just know the limitations of your phone.

