Introduction to iPhone Night Mode
In recent years, smartphone photography has revolutionized the way we capture and share moments. Among the myriad of features that have transformed mobile photography, Night Mode on the iPhone stands out as a game-changer. This innovative feature allows users to capture stunning images in low-light conditions, previously a significant challenge for smartphone cameras. Whether you’re an amateur or a seasoned photographer, mastering iPhone Night Mode can elevate your night-time photography to new heights.
Understanding Night Mode Basics
Night Mode on the iPhone is designed to enhance low-light photography by using advanced software algorithms and hardware capabilities. When you take a photo in low-light conditions, Night Mode automatically activates and captures multiple images over a short period. It then combines these images into a single photo, optimizing for clarity, brightness, and reduced noise.
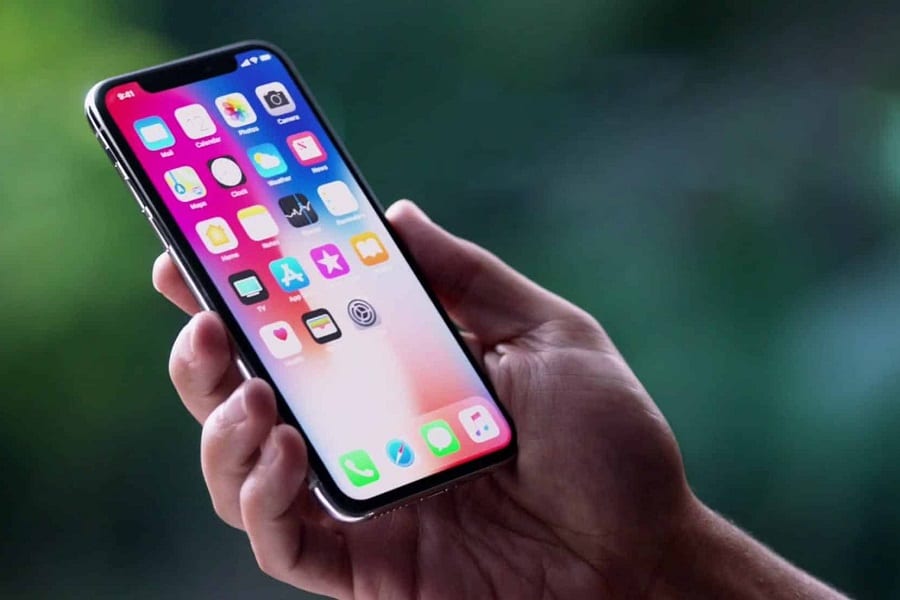
How to Activate Night Mode
Night Mode is available on iPhone models from iPhone 11 onwards. It activates automatically in low-light environments, but you can also manually control its intensity. Here’s how to manage Night Mode:
- Open the Camera app on your iPhone.
- Ensure you’re in Photo mode. If Night Mode is available, an icon resembling a crescent moon will appear at the top of the screen.
- Tap the Night Mode icon to manually adjust the exposure time using the slider. More time allows for more light capture but requires a steadier hand.
Top Tips for Mastering iPhone Night Mode Photography
1. Keep Your iPhone Steady
Stability is crucial for clear night-time photos. Since Night Mode relies on capturing multiple frames over a few seconds, any movement can result in a blurry image. Consider using a tripod or propping your phone against a stable surface. If neither is available, try to hold your phone with both hands and brace your elbows against your body for additional stability.
No products found.
2. Utilize the Timer
Using the timer function can also help reduce camera shake. Set the timer for 3 or 10 seconds to allow yourself to stabilize the phone and avoid any movement that pressing the shutter button might cause.
3. Experiment with Exposure Time
The Night Mode slider allows you to adjust the exposure length, offering more control over the final image. While a longer exposure can capture more light, it also requires the camera to remain steady for a longer time. Experiment with different settings to see what works best for the scene you’re capturing.
4. Pay Attention to Light Sources
When shooting in Night Mode, be mindful of artificial light sources like street lamps or car headlights. These can create unwanted flares or overexposed areas in your photo. Try repositioning or angling your phone to minimize these effects, using natural light to your advantage when possible.
5. Focus on Composition
Excellent composition can transform a good photo into a great one. Use elements like leading lines, symmetry, and the rule of thirds to create a visually pleasing image. Even in low light, these principles can guide the viewer’s eye and bring your photo to life.
6. Shoot in RAW
If you have an iPhone 12 Pro or later, you can shoot in ProRAW for more post-processing flexibility. RAW files retain more data than standard JPEGs, allowing for greater adjustments in exposure, shadows, and highlights without sacrificing quality.
7. Enhance Photos with Editing Apps
Post-processing can significantly enhance your night-time photos. Apps like Adobe Lightroom, Snapseed, or even the native Photos app on the iPhone offer powerful editing tools. Adjust the exposure, contrast, and sharpness to bring out the best in your Night Mode shots.
Advanced Techniques for iPhone Night Mode
1. Use the Ultrawide Lens Creatively
While the main camera lens on the iPhone performs best in low-light conditions, don’t shy away from experimenting with the ultrawide lens. This lens can capture dramatic perspectives and add a unique touch to your night photography.
2. Incorporate Movement
Night Mode can create interesting effects when capturing moving subjects. Light trails from cars, people walking, or other dynamic elements can add a sense of motion and drama to your photos. Experiment with different exposure times to achieve the desired effect.
3. Capture Starry Skies
With the right conditions, Night Mode can be used to photograph starry skies. Find a location with minimal light pollution, and use a tripod for stability. Increase the exposure time to capture the stars’ brilliance, and consider using third-party apps that offer additional control for astrophotography.
4. Take Advantage of Portrait Mode
Night Mode is now available in Portrait mode on newer iPhone models. This allows you to capture stunning portraits with artistic background blur even in low-light settings. Ensure your subject is well-lit, and experiment with different lighting angles to achieve the best effect.
Common Challenges and How to Overcome Them
1. Overexposed Highlights
Bright light sources can easily become overexposed in Night Mode photos. To mitigate this, tap on the brightest part of the scene before taking the picture to adjust the exposure. You can also experiment with reducing the exposure length to prevent bright areas from becoming blown out.
2. Noise in Low-Light Areas
Noise can be a challenge in low-light photography. While Night Mode helps reduce noise by combining multiple images, it’s not always perfect. Use editing tools to reduce noise in post-processing, but be careful not to overdo it, as excessive noise reduction can make images appear soft.
Conclusion
Mastering iPhone Night Mode opens up a new world of creative possibilities in low-light photography. By understanding how Night Mode works and implementing these tips, you can capture stunning images that defy the limitations of darkness. Remember, practice makes perfect, so don’t hesitate to experiment with different settings, compositions, and techniques. With time and patience, you’ll become proficient in capturing breathtaking night-time photos with your iPhone.