Introduction
In the realm of smartphone photography, the iPhone stands out with its impressive camera capabilities. However, like all cameras, it can sometimes fall victim to the notorious red-eye effect. This phenomenon, caused by the camera flash reflecting off the retina, can be a nuisance, detracting from the quality of an otherwise perfect photograph. Fortunately, mastering iPhone red-eye correction is a straightforward process that can significantly enhance your photo-editing skills. This guide will walk you through the essentials of red-eye correction on your iPhone, empowering you to perfect your images effortlessly.
Understanding Red-Eye Effect
Before diving into correction techniques, it’s essential to understand what causes the red-eye effect. This effect occurs when a camera’s flash is too close to the lens, and the light reflects off the subject’s retina. The red color comes from the blood vessels at the back of the eye. This phenomenon is more common in low-light conditions where the subject’s pupils are dilated, allowing more light to enter the eyes.
Preventing Red-Eye
While correcting red-eye is relatively simple, prevention is always better than cure. Here are some tips to avoid red-eye when taking photos:
Use Natural Light
Whenever possible, use natural lighting to illuminate your subject. The iPhone camera performs exceptionally well in well-lit environments, reducing the need for flash.
No products found.
Adjust Flash Settings
If you must use a flash, consider adjusting the flash settings. The iPhone allows you to turn off the flash or set it to auto, which can help minimize the chances of red-eye.
Utilize iPhone Camera Features
The iPhone camera app includes features like Night Mode and Portrait Mode, which can help reduce the need for a flash, thus minimizing red-eye occurrences.
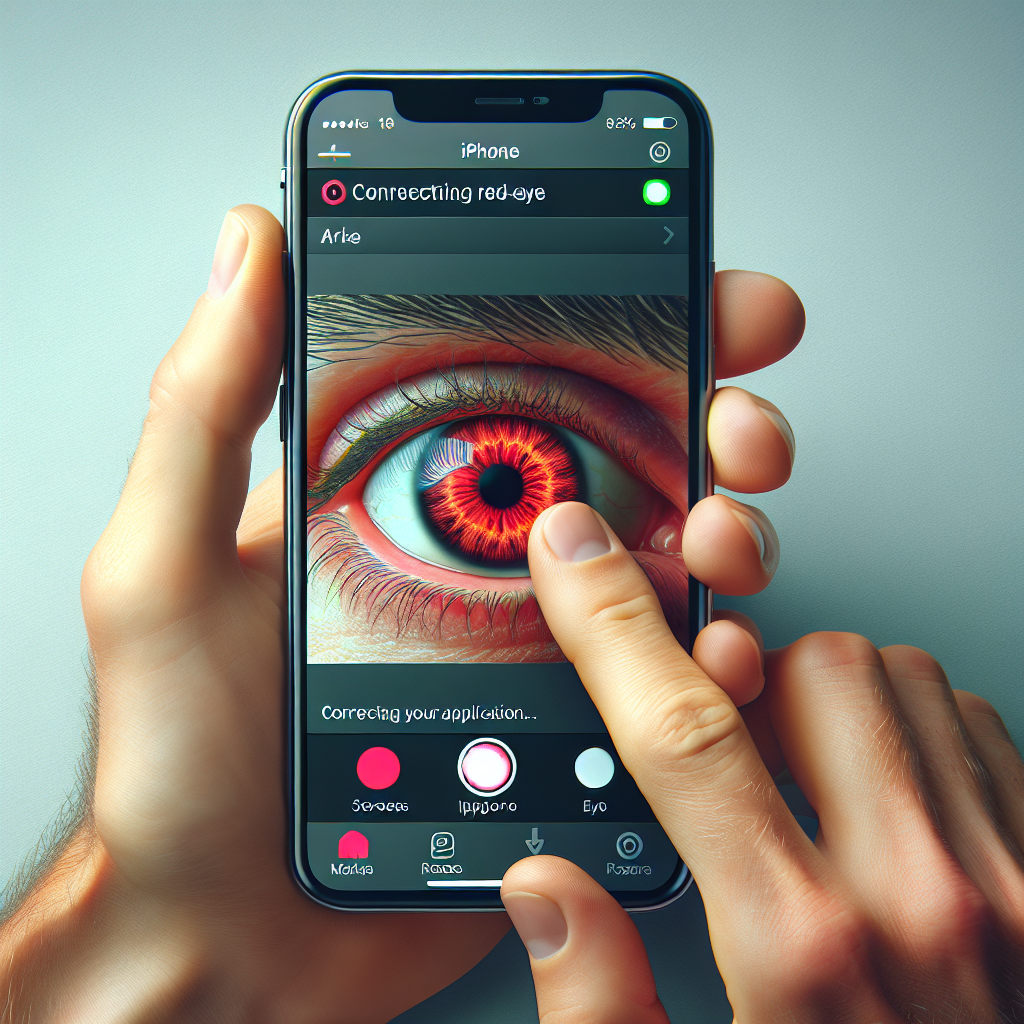
Correcting Red-Eye with iPhone Photos App
The iPhone Photos app includes a built-in red-eye correction tool that’s both intuitive and effective. Here’s a step-by-step guide on how to use it:
Step 1: Open the Photos App
Start by launching the Photos app on your iPhone and locate the photo you wish to edit.
Step 2: Enter Edit Mode
Tap on the photo to open it, then hit the “Edit” button in the top-right corner of the screen. This action will take you into the editing interface.
Step 3: Use the Red-Eye Correction Tool
In the editing interface, look for the red-eye correction tool, which resembles an eye with a line through it. Tap this icon to activate the tool.
Step 4: Apply Correction
After selecting the tool, tap on each red eye in the photo. The tool automatically corrects the red-eye effect, replacing it with a more natural eye color.
Step 5: Save Your Changes
Once satisfied with the correction, tap “Done” to save your changes. Your photo will now be free of the red-eye effect.
Advanced Red-Eye Correction Techniques
While the Photos app provides an effective solution for red-eye correction, there are instances where you may need more advanced editing tools. Here are some third-party apps that offer enhanced red-eye correction features:
Adobe Photoshop Express
Adobe Photoshop Express is a free app available on the App Store, offering a suite of photo-editing tools, including advanced red-eye correction. With its user-friendly interface, you can fine-tune corrections beyond what the Photos app offers.
Visage Lab
Visage Lab is a photo-editing app designed for portrait enhancement. It offers automatic red-eye removal, along with other features like skin smoothing and teeth whitening, making it perfect for refining portrait photos.
Facetune
Facetune, though primarily known for its portrait retouching capabilities, includes an effective red-eye correction tool. It allows for precise adjustments, ensuring the most natural look possible.
Tips for Using Third-Party Apps
When using third-party apps, it’s important to follow best practices to achieve optimal results:
Maintain Natural Appearance
While correcting red-eye, ensure that the eyes maintain a natural appearance. Over-correction can lead to an unnatural look, detracting from the photo’s overall quality.
Use Zoom Functionality
Most apps allow you to zoom in on the specific area you’re editing. Utilize this feature to ensure precise correction, especially for photos with complex lighting.
Experiment with Different Apps
Each app offers unique features and tools. Don’t hesitate to experiment with different apps to find the one that best suits your needs and editing style.
Best Practices for Red-Eye Correction
To master red-eye correction truly, consider these best practices:
Assess the Entire Image
Before focusing solely on red-eye correction, evaluate the entire image. Consider other factors like lighting, contrast, and saturation, which can also impact the photo’s overall quality.
Practice Makes Perfect
The more you practice red-eye correction, the more proficient you’ll become. Experiment with different photos and lighting conditions to hone your skills.
Stay Updated
As iPhone and app developers continuously update software, new features and tools become available. Keep your apps updated to take advantage of the latest advancements in photo editing.
Conclusion
Mastering iPhone red-eye correction is an essential skill for anyone who wants to enhance their smartphone photography. By understanding the causes of red-eye and utilizing the tools available on the iPhone and third-party apps, you can easily correct this common issue and ensure your photos are always picture-perfect. With a little practice and experimentation, you’ll be able to tackle red-eye with confidence, leaving you free to focus on capturing life’s most memorable moments.


