In the realm of smartphone photography, iPhones have carved a niche with their robust cameras and intuitive design. However, even the best cameras can benefit from a little help. Enter ND filters—an essential tool for any serious photographer. This guide will delve into how ND filters can enhance your iPhone photography, which ones to choose, and how to use them effectively.
Understanding ND Filters
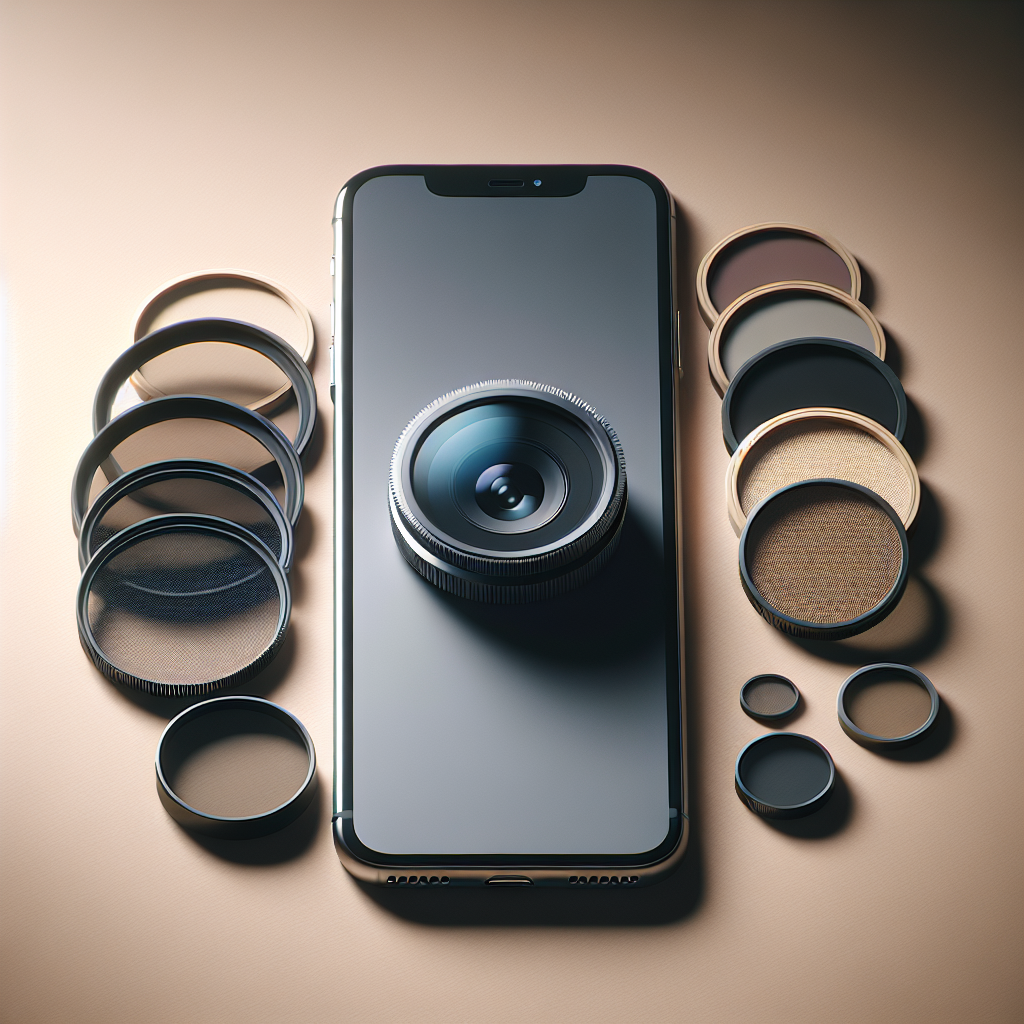
What are ND Filters?
ND, or Neutral Density, filters are optical filters that reduce the amount of light entering the camera lens without affecting the color of the image. They are analogous to sunglasses for your camera, allowing you to control exposure and create dynamic effects even in bright conditions.
Why Use ND Filters with Your iPhone?
iPhones, though equipped with advanced cameras, have limitations when it comes to controlling exposure in high-light situations. ND filters help bridge this gap by allowing for slower shutter speeds and wider apertures, which are essential for capturing stunning landscape shots, motion blur, and even video production.
Benefits of Using ND Filters
Control Exposure
ND filters help manage exposure levels, especially in harsh lighting conditions. By reducing the light entering the lens, you can maintain optimal exposure settings to prevent overexposed images.
No products found.
Create Motion Blur
One of the most creative uses of ND filters is to capture motion blur. This technique is perfect for photographing waterfalls, rivers, and even busy cityscapes where you want to portray movement.
Enhance Video Quality
For videography, ND filters are invaluable. They allow you to use slower shutter speeds, which results in more natural-looking motion in videos—a technique often used in professional filmmaking.
Choosing the Right ND Filter for Your iPhone
Fixed vs. Variable ND Filters
There are two primary types of ND filters: fixed and variable. Fixed ND filters offer a constant level of light reduction, while variable ND filters let you adjust the intensity of the filter. For iPhones, variable ND filters are often preferred due to their versatility.
Consider the Filter Strength
ND filters come in different strengths, typically ranging from ND2 to ND1000. The number indicates how much light is reduced. For example, an ND2 filter cuts the light by one stop, while an ND8 reduces it by three stops. Choosing the right strength depends on your shooting conditions and the effect you desire.
Compatibility with iPhone Models
Ensure that the ND filter you choose is compatible with your iPhone model. Some filters are designed specifically for certain iPhone models, offering better fit and performance.
Top ND Filters for iPhone Photography
Moment ND Filters
Moment offers high-quality ND filters designed specifically for smartphones. Their filters are known for their superior glass quality and precise light reduction capabilities. Moment’s ND filters are available in various strengths and are ideal for both photography and videography.
Sandmarc ND Filters
Sandmarc is another reputable brand offering ND filters for iPhones. Known for their durability and ease of use, Sandmarc ND filters are a favorite among mobile photographers. They offer both fixed and variable ND filters, allowing for flexibility in different shooting scenarios.
PolarPro LiteChaser Pro
The PolarPro LiteChaser Pro series offers ND filters specifically designed for iPhones. These filters are crafted with professional-grade materials, ensuring durability and excellent optical clarity. They come with a secure clip-on system, making them easy to attach and remove.
How to Use ND Filters with Your iPhone
Attaching the Filter
Most ND filters for iPhones come with clip-on systems or cases that allow for easy attachment. Ensure the filter is securely attached to avoid any movement during shooting, which could affect image quality.
Adjusting Settings
Once the filter is attached, adjust your iPhone’s camera settings. You may need to use a third-party app to gain more control over shutter speed and ISO settings. Apps like ProCamera or Filmic Pro can provide more precise control over these settings.
Experiment with Different Effects
Don’t be afraid to experiment with different ND filter strengths and camera settings. Try capturing the same scene with different filters to understand how each one affects the image.
Tips for Capturing Stunning Photos with ND Filters
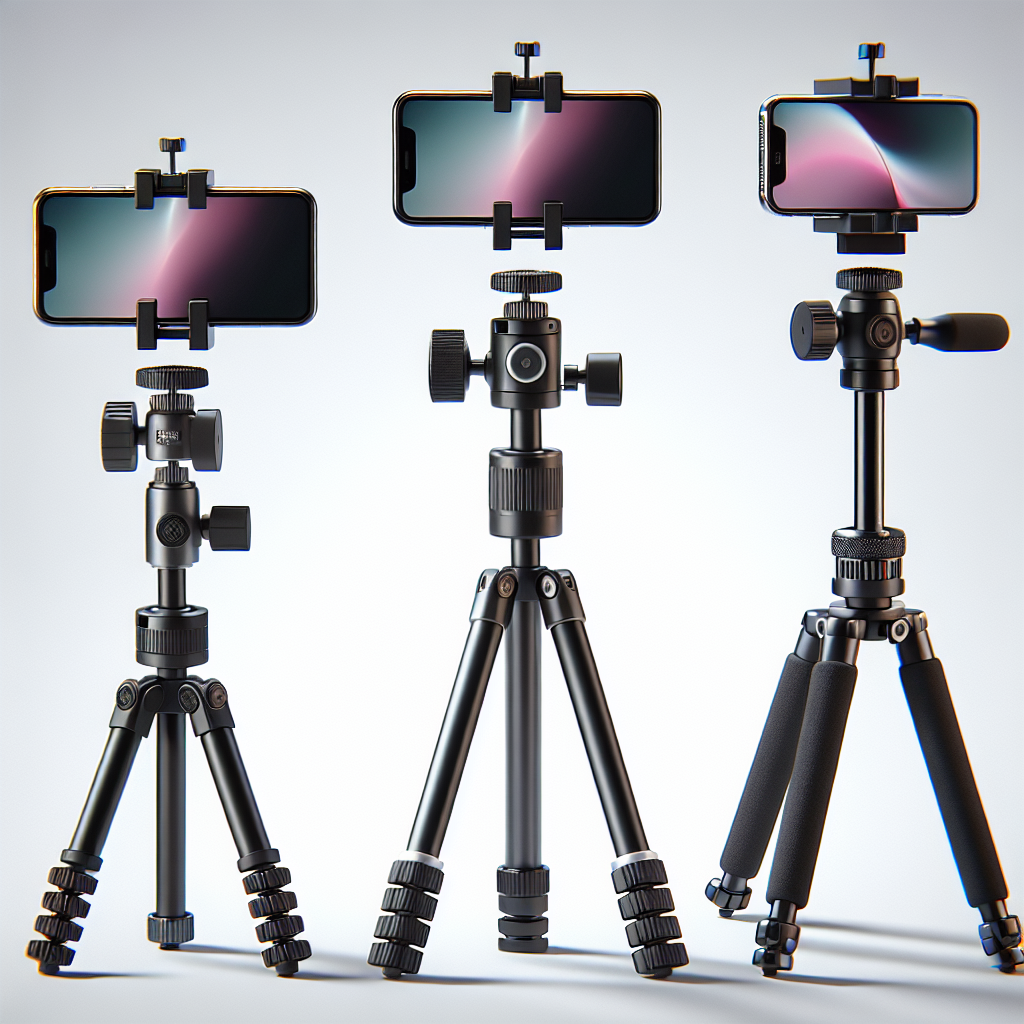
Use a Tripod
To achieve the best results when using ND filters, especially for long-exposure shots, a tripod is essential. It helps keep the iPhone steady, reducing the risk of blurred images.
Shoot During Golden Hour
The golden hour, shortly after sunrise or before sunset, provides ideal lighting conditions for photography. Using an ND filter during this time can enhance the natural beauty of your shots.
Focus on Composition
While ND filters help with exposure, composition remains key to a compelling photograph. Pay attention to the rule of thirds, leading lines, and framing to create visually appealing images.
Conclusion
ND filters are a powerful tool in the arsenal of iPhone photographers, enabling better control over exposure and creative effects. By understanding how to choose and use ND filters, you can elevate your mobile photography to new heights. Whether you’re capturing serene landscapes or dynamic urban scenes, the right ND filter can make all the difference in achieving professional-quality photos.