The iPhone is renowned for its cutting-edge technology and user-friendly interface, making it a favorite among tech enthusiasts and everyday users alike. One of the standout features of iPhone cameras is their ability to capture high-quality video with variable frame rates. Understanding and mastering iPhone frame rates can significantly enhance your video recording capabilities, allowing you to create stunning visual content. In this comprehensive guide, we’ll delve into the intricacies of iPhone frame rates and provide you with a step-by-step guide to mastering them.
Understanding Frame Rates
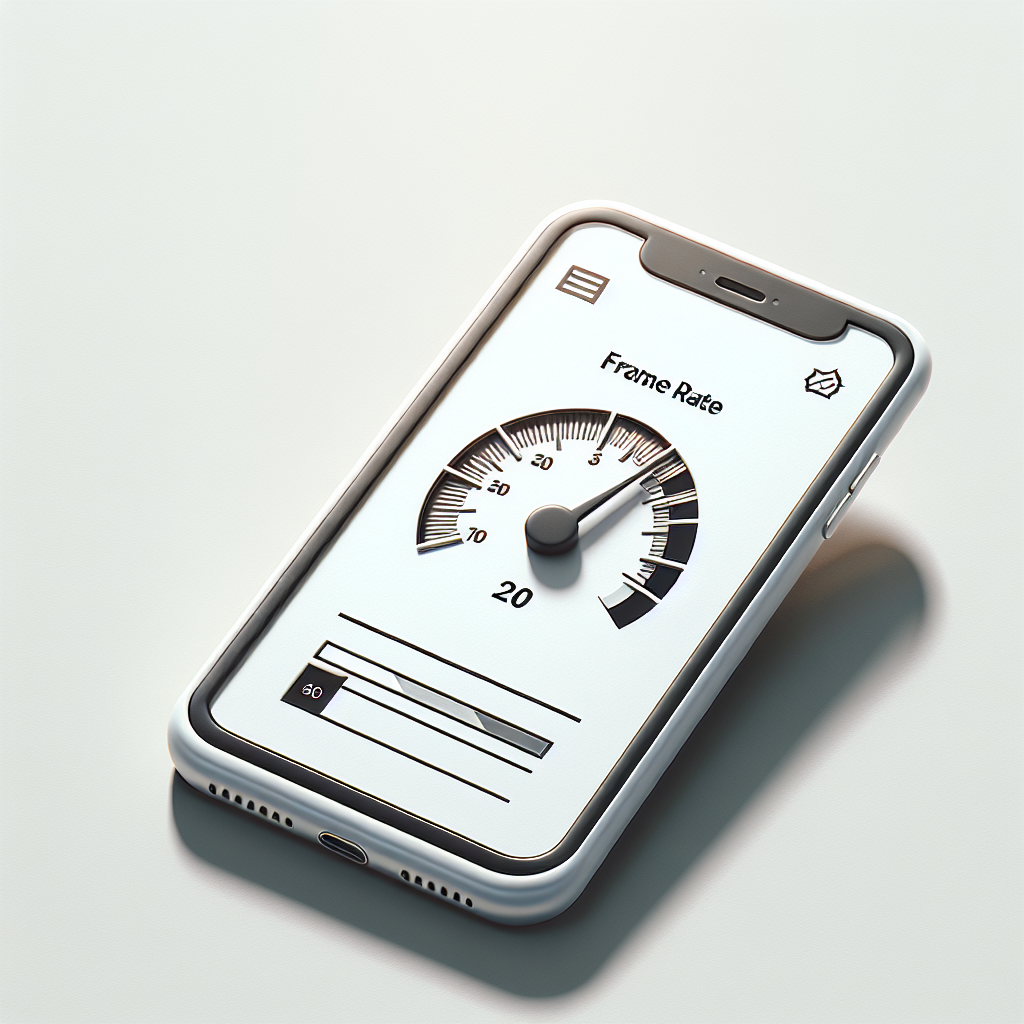
Before diving into the specifics of iPhone frame rates, it’s crucial to understand what a frame rate is. Frame rate, measured in frames per second (fps), refers to the number of individual frames or images displayed per second in a video. The frame rate determines the smoothness and fluidity of the video playback. Common frame rates include 24fps, 30fps, and 60fps, each offering different visual experiences.
Why Frame Rate Matters
Frame rate plays a pivotal role in video recording as it affects the motion portrayal and overall feel of your video. Here’s a brief overview of how different frame rates impact video quality:
- 24fps: This frame rate is often used in film to achieve a cinematic look. It imparts a natural motion blur, making it ideal for storytelling and dramatic scenes.
- 30fps: Commonly used for TV broadcasts and online videos, 30fps provides a smooth viewing experience while maintaining some natural motion blur.
- 60fps: With twice the frames of 30fps, 60fps delivers ultra-smooth motion and is perfect for capturing fast-paced action and sports scenes.
iPhone Frame Rate Options
iPhones offer a range of frame rate options to cater to different recording needs. Depending on the iPhone model and iOS version, you can choose from several frame rates, including 24fps, 30fps, and 60fps. The iPhone 12 and later models also support 120fps and 240fps for slow-motion videos. Selecting the right frame rate is essential for achieving the desired visual effect in your videos.
No products found.
How to Change Frame Rate on iPhone
Adjusting the frame rate on your iPhone is a straightforward process. Follow these steps to change the frame rate on your device:
- Open the Camera App: Launch the Camera app on your iPhone by tapping the camera icon on your home screen.
- Select Video Mode: Swipe left or right to switch to Video mode.
- Access Frame Rate Options: In Video mode, you’ll find the frame rate options displayed at the top or side of the screen, depending on your device’s orientation.
- Choose Your Frame Rate: Tap on the frame rate indicator to cycle through the available options, such as 24fps, 30fps, or 60fps. For slow-motion videos, you can select 120fps or 240fps.
- Start Recording: Once you’ve selected your desired frame rate, tap the red record button to start capturing your video.
Advanced Frame Rate Settings
For users seeking more control over their video recordings, iPhones also offer advanced frame rate settings. Access these settings by following these steps:
- Go to Settings: Open the Settings app on your iPhone.
- Select Camera: Scroll down and tap on “Camera.”
- Choose Video Record: Tap “Record Video” to access advanced recording options.
- Explore Additional Settings: Here, you can choose specific frame rates for different resolutions, such as 4K at 24fps or 1080p at 60fps.
Tips for Choosing the Right Frame Rate
Selecting the appropriate frame rate depends on the type of video you’re recording and the effect you want to achieve. Consider the following tips when choosing a frame rate:
- Match the Frame Rate to the Scene: For cinematic scenes, opt for 24fps. For everyday videos or online content, 30fps is a versatile choice. For action-packed sequences, 60fps is ideal.
- Consider Lighting Conditions: Higher frame rates require more light. In low-light conditions, a lower frame rate may yield better results.
- Plan for Slow-Motion: If you intend to incorporate slow-motion effects, record at 120fps or 240fps to ensure smooth playback when slowed down.
Editing and Exporting Videos with Different Frame Rates
After recording your video, you may wish to edit and export it. Keep in mind that mixing footage with different frame rates can lead to playback issues. Here are some tips for editing and exporting videos with varying frame rates:
- Use Compatible Editing Software: Choose video editing software that supports frame rate adjustments and can handle mixed frame rate footage seamlessly.
- Maintain Consistency: If possible, stick to a single frame rate throughout your project to ensure a consistent viewing experience.
- Export Settings: When exporting your video, select a frame rate that matches the majority of your footage for optimal playback quality.
Conclusion
Mastering frame rates on your iPhone can significantly enhance your video recording capabilities, allowing you to create visually stunning content. By understanding the impact of different frame rates and following the step-by-step guide, you can confidently choose the right frame rate for your videos. Whether you’re capturing cinematic scenes, fast-paced action, or slow-motion effects, your iPhone offers the flexibility to achieve your creative vision. Experiment with different frame rates, explore advanced settings, and elevate your video production skills to new heights.


